Getting a passport photo seems simple, right? But if you’ve ever had one rejected, you know it’s not as easy as clicking a selfie. The photo must meet strict official standards — size, background, lighting, and facial expressions all matter. While many people rely on Photoshop or photo-editing apps to fix imperfections, the truth is you don’t need any fancy software to take a perfect passport photo. In this guide, I’ll walk you through everything step by step — from choosing the right lighting and background to positioning yourself correctly and ensuring your photo meets all government regulations. By the end, you’ll be able to take a professional-quality passport photo at home — without Photoshop.
Why You Should Take Your Own Passport Photo
Taking your own passport photo might sound a bit intimidating at first, but it actually offers a lot of advantages that most people overlook. One of the biggest reasons is cost. Professional photo studios charge anywhere from $10 to $25 for just two small pictures, which can add up if you need replacements or renewals. By taking your own photo at home, you save that money entirely and can even retake the shot multiple times without worrying about extra fees. Over time, this simple step can save you a surprising amount of money, especially if you travel frequently and need new passport photos regularly.
Another key benefit is the level of control you get over your photo. In a studio, the photographer may rush you or fail to capture the perfect angle, lighting, or expression. When you take your own photo, you can experiment with different angles, lighting setups, and facial expressions until you find the shot that truly represents you. This control also means you can ensure that the photo meets all official passport requirements, avoiding the frustration of having a photo rejected for minor mistakes like shadows or the wrong head size.
Self-taking your passport photo also reduces the temptation to over-edit or heavily retouch your image. Many studio photos undergo slight corrections to remove blemishes or adjust color, but too much editing can actually get your photo rejected because it changes your natural appearance. By doing it yourself, you focus on capturing a clear, high-quality, and natural-looking photo that meets the official guidelines. This helps you avoid common pitfalls like photos that are overly brightened, filtered, or digitally altered in ways that fail passport standards.
Finally, taking your own photo is extremely convenient. You don’t need to leave your home, wait in line, or schedule an appointment at a busy photo studio. With a little preparation — a plain background, proper lighting, and a camera or smartphone — you can take a professional-looking photo whenever it suits you. This flexibility is especially valuable if you have a busy schedule, live far from a photo studio, or need to replace a lost or expired passport quickly. In the end, with some care and attention to detail, you can produce a passport photo at home that is just as good as — or even better than — one from a professional studio.
Understand Passport Photo Requirements First
Before you even think about picking up your camera or smartphone, it’s crucial to understand the rules for passport photos. Every country has its own guidelines, and even small deviations can lead to your photo being rejected. To make things simpler, here’s a detailed list of the most common requirements you need to follow to ensure your passport photo is accepted the first time:
- The size of your passport photo should be 2 x 2 inches (51 x 51 mm). This is the standard for most countries, and your head should fit comfortably within this space without being too small or too large.
- The background color must be plain white or off-white. Avoid patterned walls, colorful backgrounds, or textured surfaces. The goal is to make your face the clear focus of the photo without any distractions behind you.
- Your head size should measure between 1 to 1.4 inches (25 to 35 mm) from the bottom of your chin to the top of your head. Make sure your head is centered and occupies the correct proportion of the frame.
- Maintain a neutral expression at all times. Your mouth should be closed, your eyes open, and you should look straight at the camera. Avoid smiling, frowning, or raising your eyebrows as this can make the photo non-compliant.
- Glasses are not allowed in passport photos for most countries, including the U.S. since 2016. If you normally wear glasses, it’s important to remove them to prevent glare or obscuring your eyes.
- Head coverings are only permitted if they are for religious or medical reasons. The covering must not obscure your face in any way, so your facial features remain clearly visible.
- The photo quality must be high-resolution with no blurriness or shadows. Avoid taking pictures in dim lighting or with low-quality cameras that produce grainy or pixelated images.
- Ensure the lighting is even across your face and background. Shadows on your face or the wall behind you can cause your photo to be rejected.
- Your entire face should be visible, with both ears showing if possible. Hair should not cover your eyes, forehead, or sides of the face.
- No filters, retouching, or digital enhancements should be applied. Passport photos must look natural and reflect your true appearance.
- Keep your clothing simple. Solid, dark colors are preferred over white, as they contrast well with the background. Avoid patterns, logos, or flashy accessories that distract from your face.
- Position yourself correctly in the frame. Stand or sit straight with your shoulders level and head centered. Do not tilt or lean forward/backward.
- Check country-specific rules. Some nations have additional requirements, such as specific distances from the camera, color balance guidelines, or additional head measurements. Always verify before taking your photo.
Choose the Right Equipment
| Equipment | Purpose | Advantages | Drawbacks | Tips for Best Use |
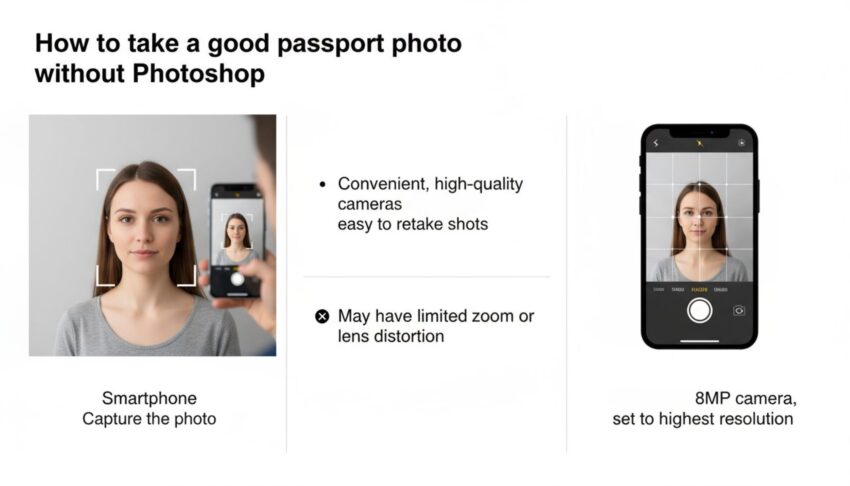
| Smartphone | Capture the photo | Convenient, high-quality cameras, easy to retake shots | May have limited zoom or lens distortion | Use at least 8MP camera, set to highest resolution |
| Digital Camera | Capture higher-quality photos | Better image quality, adjustable settings | Bulky, not always necessary | Use if you already own one, keep ISO low to reduce noise |
| Tripod | Keep camera steady and maintain consistent framing | Prevents blurry or tilted photos | Extra equipment to carry and set up | Position at eye level, ensure tripod is stable |
| Remote Shutter | Trigger camera without touching it | Avoids camera shake, perfect framing | Not always included with all cameras | Use a Bluetooth remote or camera timer |
| Timer Function | Automatically takes photo after a delay | Allows solo photography without extra help | Timing may require multiple attempts | Set 3-5 second delay, move into position quickly |
Set Up the Perfect Background
A clean and compliant background is one of the most important aspects of a passport photo, yet it’s often overlooked. Many people rely on Photoshop to “whiten” or smooth out the backdrop, but this isn’t necessary if you set it up correctly from the start. Using a proper background ensures your photo meets official standards without any digital editing, which could otherwise get your application rejected. A plain, uncluttered background keeps the focus entirely on your face, making it easier for officials to verify your identity.
The easiest way to achieve a compliant background is to use a plain white wall. If you don’t have one, hanging a solid white sheet or fabric works just as well. It’s important that the surface behind you is free of patterns, textures, or colors, as even subtle designs can be flagged during passport processing. The goal is to create a smooth, consistent backdrop that contrasts well with your clothing and facial features without distracting from them.
Lighting is another crucial factor for background setup. Make sure the area is evenly lit with no harsh shadows or bright spots. Shadows on the wall or uneven lighting on your face can cause a photo to be rejected, even if everything else is perfect. Using natural daylight or soft artificial lighting from multiple angles helps achieve an even tone and ensures your face is clearly visible. Avoid placing your light source directly behind you, as this can create glare or uneven exposure.
Finally, consider the distance between you and the background. Standing about 2 to 3 feet away from the wall prevents shadows from appearing directly behind your head and gives a more professional look. It also reduces the risk of background imperfections showing up in the photo. Combining proper distance, lighting, and a plain backdrop allows you to capture a passport photo that looks clean, natural, and fully compliant — all without the need for Photoshop or post-editing.
Get the Lighting Right
Lighting is one of the most critical factors in taking a passport photo. Even a perfectly framed photo can be rejected if the lighting is poor, uneven, or creates shadows. Proper lighting ensures your face is clearly visible, colors are natural, and the background is uniform. To help you get it right, here’s a detailed checklist of lighting practices to follow when taking your passport photo:
- Use natural daylight whenever possible. Natural light provides even illumination, reduces harsh shadows, and ensures accurate skin tones. Early morning or late afternoon light is ideal, as midday sunlight can be too harsh.
- Position yourself facing a window so the light falls evenly on your face. This helps highlight your facial features naturally while avoiding dark spots or glare. Make sure the window isn’t too bright to prevent overexposure.
- Avoid strong overhead lighting, which can cast shadows under your eyes, nose, and chin. Overhead lights create unflattering contrasts that can result in your photo being rejected.
- If natural light is limited or you’re taking the photo indoors, use two lamps placed at 45° angles on either side of your face. This balances the light, minimizes shadows, and ensures even exposure across your facial features.
- Never rely on your phone’s flash. Built-in flashes often produce red-eye, harsh highlights, and unnatural skin tones. Instead, focus on soft, diffused lighting from natural or artificial sources.
- Make sure the background is evenly lit as well. Shadows on the wall behind you can lead to non-compliance, so check that light reaches the backdrop uniformly without hotspots or dim areas.
- Use light-colored reflectors (or even a white sheet) to bounce light onto darker areas of your face. This simple trick fills in shadows under the chin and around the eyes without creating overexposed spots.
- Check the lighting from the camera’s perspective before taking the photo. Look through your phone or camera screen to ensure there are no harsh shadows, bright glares, or uneven color tones.
- Adjust your distance from the light source if necessary. Too close can cause overexposure, while too far may make your face appear dim. The key is finding a balance where your facial features are clearly defined.
Position Yourself Correctly
| Aspect | Guideline | Purpose | Common Mistakes | Tips for Best Results |
| Camera Level | Camera should be at eye-level | Keeps your face proportionate and natural-looking | Camera too high or low causing distorted features | Use a tripod or stack books to adjust height |
| Distance from Camera | 2-4 feet (0.6-1.2 meters) | Ensures head and shoulders fit properly in frame | Too close: face appears too large; too far: too small | Check framing on screen before taking the shot |
| Head & Shoulders | Must be visible, centered, straight | Provides clear view of facial features | Tilting or leaning can distort photo | Stand/sit straight, shoulders relaxed |
| Facial Expression | Neutral, mouth closed, eyes open, looking at camera | Meets passport regulations and looks natural | Smiling, frowning, or squinting | Practice in a mirror to maintain neutral expression |
| Glasses | Remove unless medically required | Prevents glare or obstruction of eyes | Wearing glasses can cause reflections or shadows | Take multiple shots without glasses to compare results |
Dress Appropriately
What you wear for your passport photo can make a bigger difference than most people realize. Passport officials need a clear view of your face against a plain background, and your clothing can either help or hinder this. Wearing the right outfit ensures your face stands out, creates proper contrast with the background, and keeps your photo compliant with official standards. Choosing the wrong clothing, on the other hand, can make your photo look unprofessional or even lead to rejection.
Solid, dark-colored tops are the safest choice for a passport photo. Colors like navy, black, or dark green provide a strong contrast against a white or off-white background, helping your face become the focal point. Dark colors also reduce the risk of glare or reflections, which can occur with shiny fabrics or lighter tones. This simple choice makes your photo visually clear and professional without requiring any digital adjustments.
Avoid wearing white or very light clothing because it can blend into the background, making the image appear washed out. Similarly, stay away from bold patterns, stripes, or flashy prints. These can distract from your face and sometimes interfere with automated passport verification systems. The goal is simplicity: your clothing should not compete with your face for attention in the photo.
Accessories should be minimal. Hats, scarves, and large jewelry are generally not allowed unless they are required for religious or medical reasons. Even small items like earrings or necklaces should be subtle so that they don’t obscure your neck or shoulders. By dressing appropriately and keeping your outfit simple, you make it easier for passport officials to verify your identity while ensuring your photo meets all official requirements without any need for Photoshop or editing.